System and custom statuses
System statuses cover the basic booking flow. With the Business+ plan you can add custom statuses to tailor the calendar to your business.
-
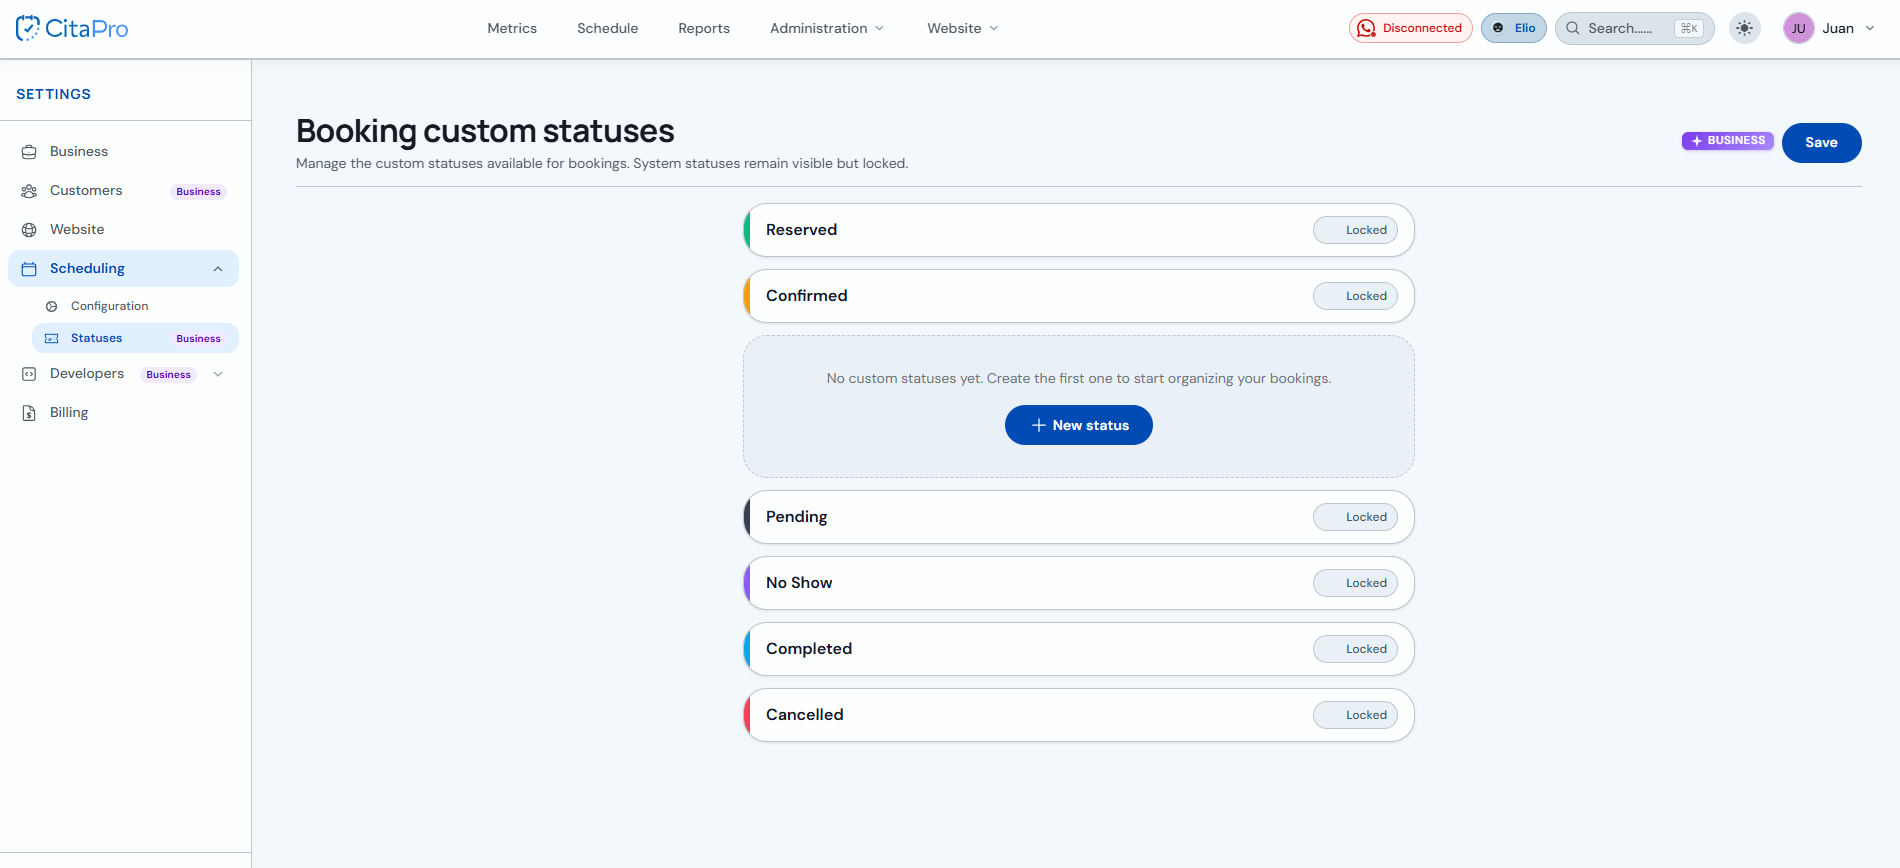
Go to Settings → Scheduling → Statuses. You will see system statuses (Reserved, Confirmed, Pending, etc.) marked as "Locked". Click "+ New status" to create your first one.
-
In "Create status", enter a name (up to 20 characters), pick a color, leave "Active" on if you want to use it right away and click "Apply". Then click "Save" at the top right to confirm all changes.

Use custom statuses when changing an appointment's status from the calendar (e.g. "In waiting room" or "Invoiced"). System statuses cannot be renamed or deleted.