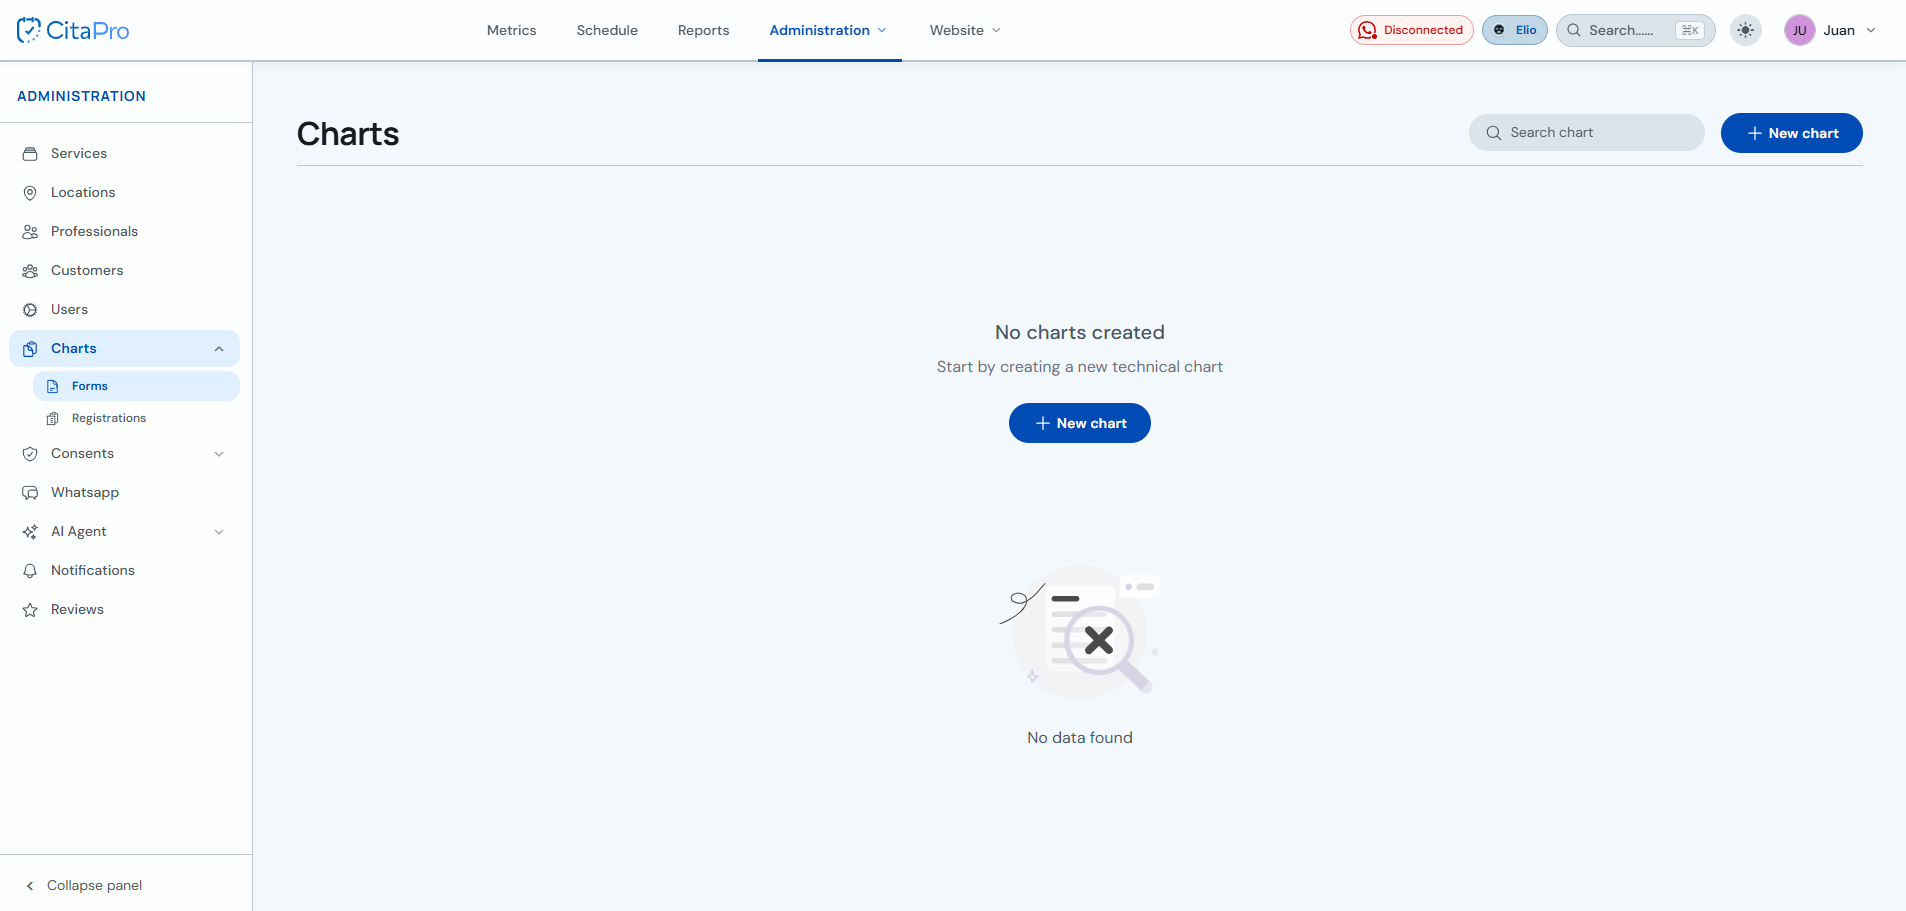
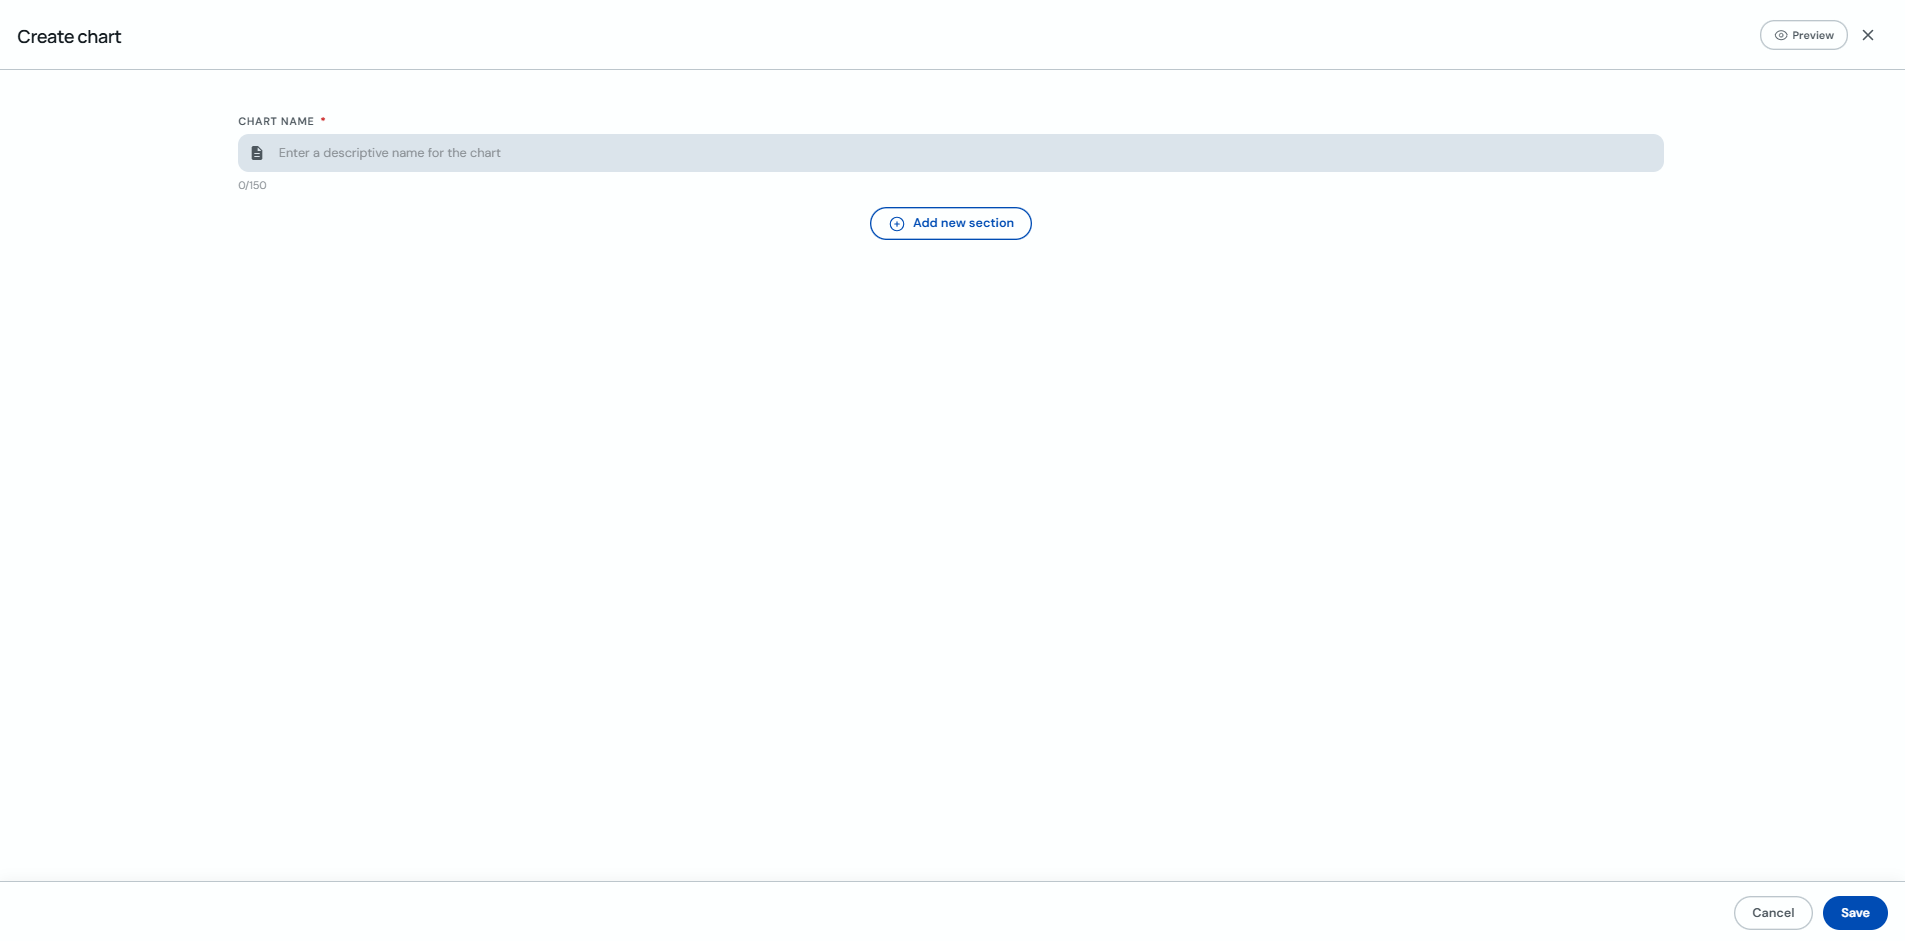
Create from the admin panel
-
Go to Administration → Fichas → Forms and click "+ New form".
-
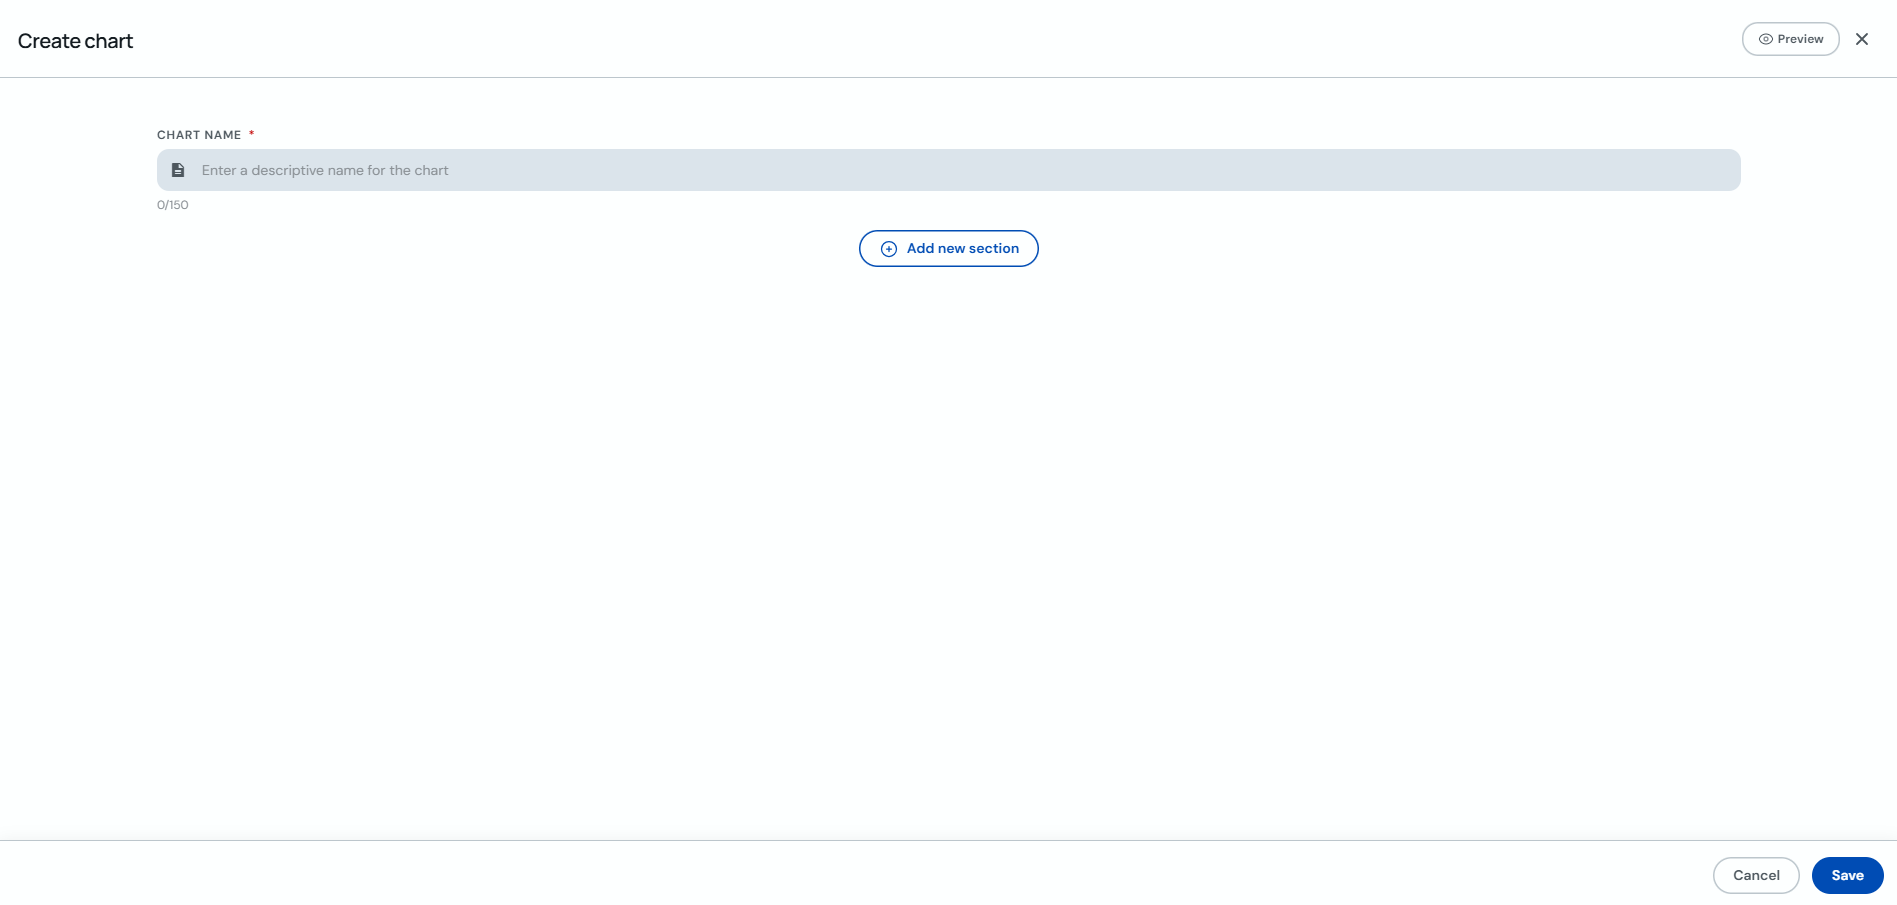
On "Create form", enter the form name and click "+ Add new section".
-
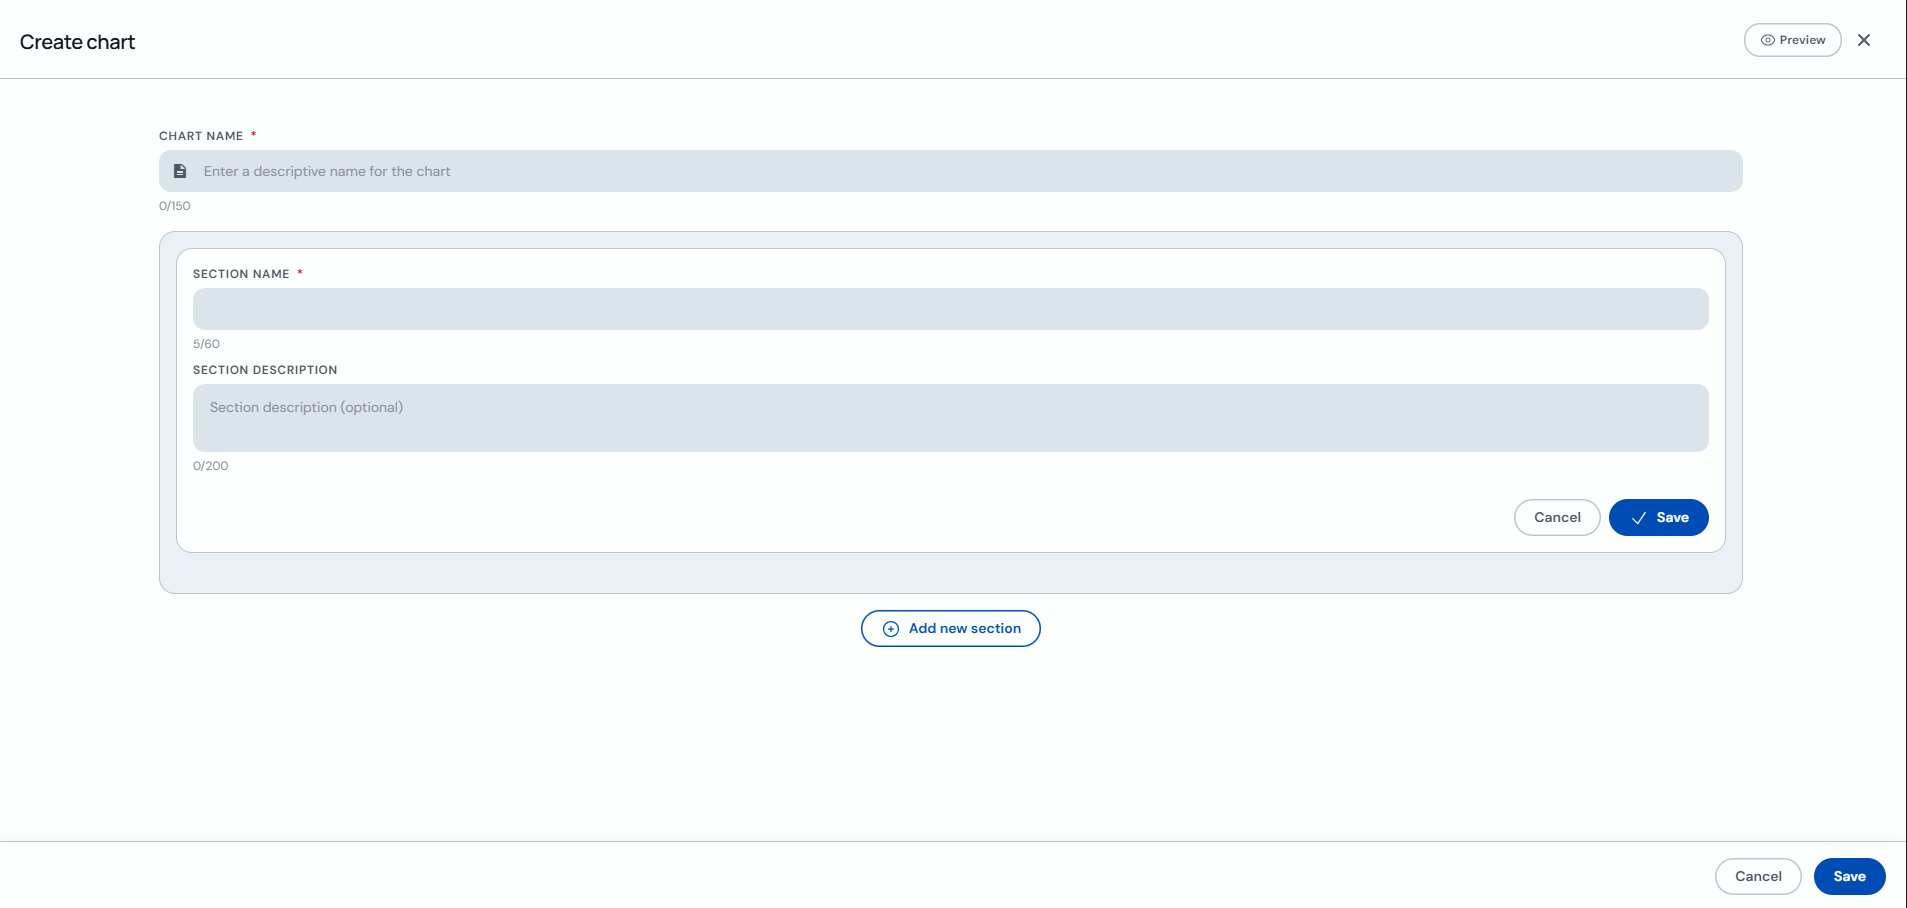
Fill in the section name and optional description. Save the section with the card's "Save" button.
-
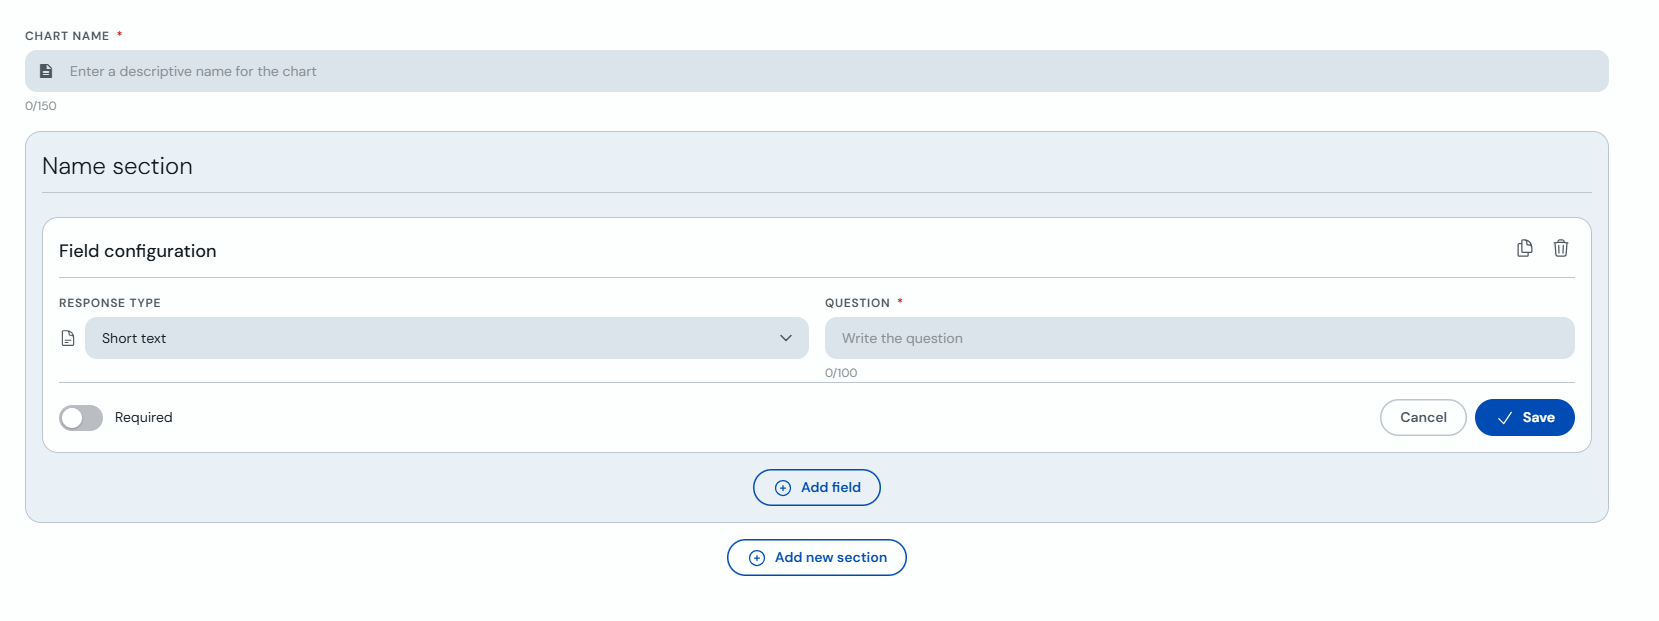
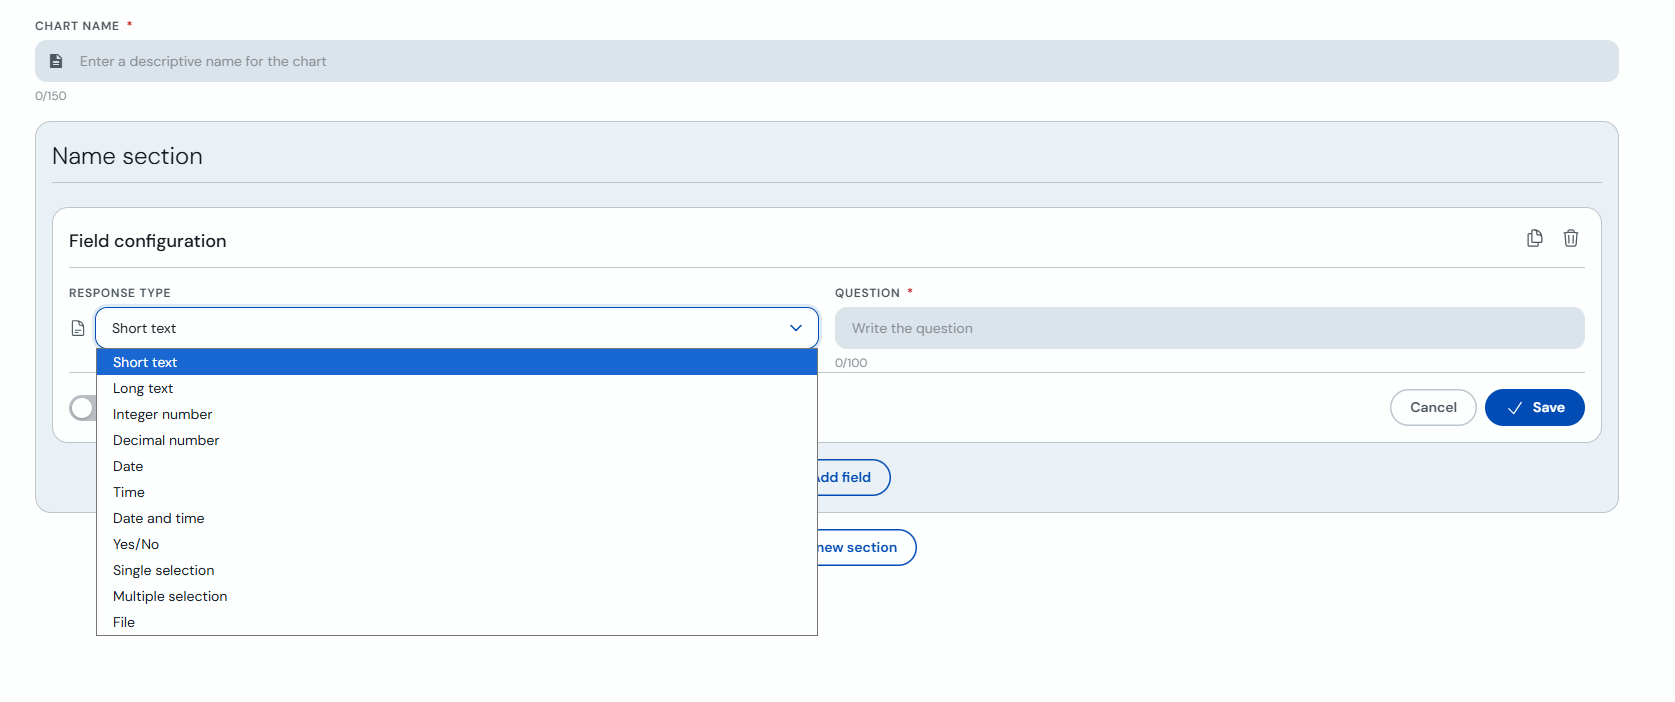
Click "+ Add field". Choose the response type, enter the question and enable "Required" if needed. Save the field.
-
You can add more fields or sections and choose different response types for each one.
-
To preview the form, click "Preview" to see it before saving. When ready, click "Save" (bottom right) to create the form.
Create from the client profile
-
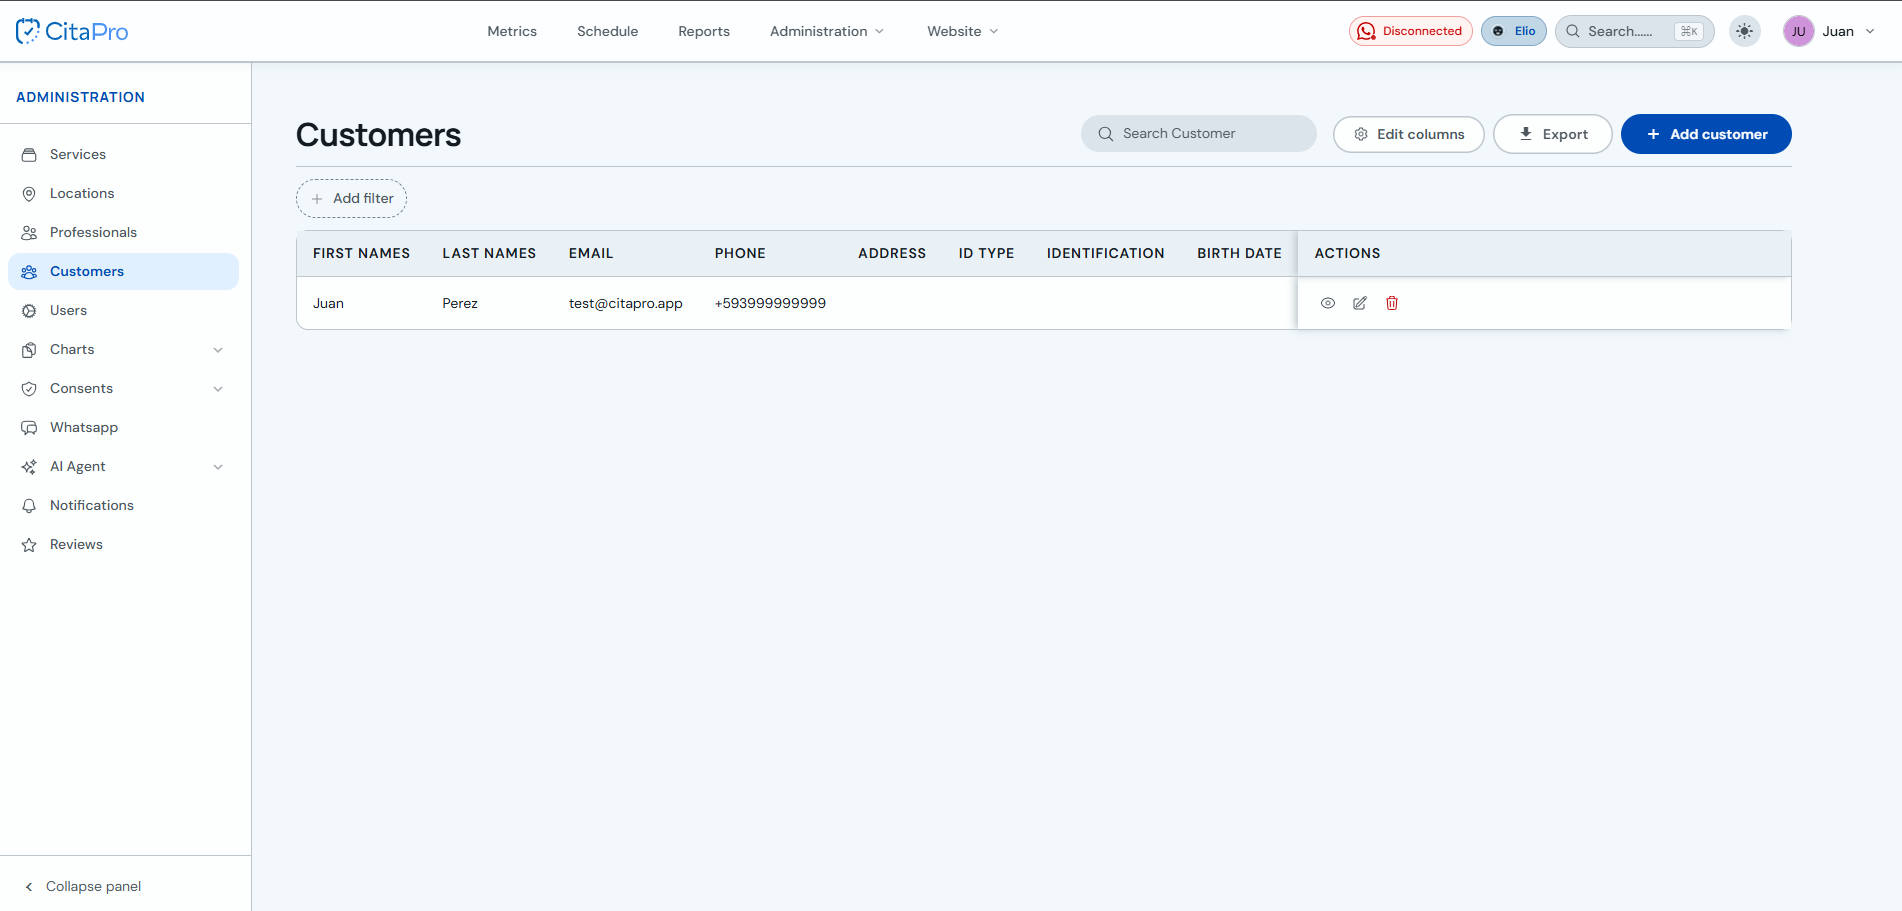
Go to Administration → Clients and open the client profile (view icon).
-
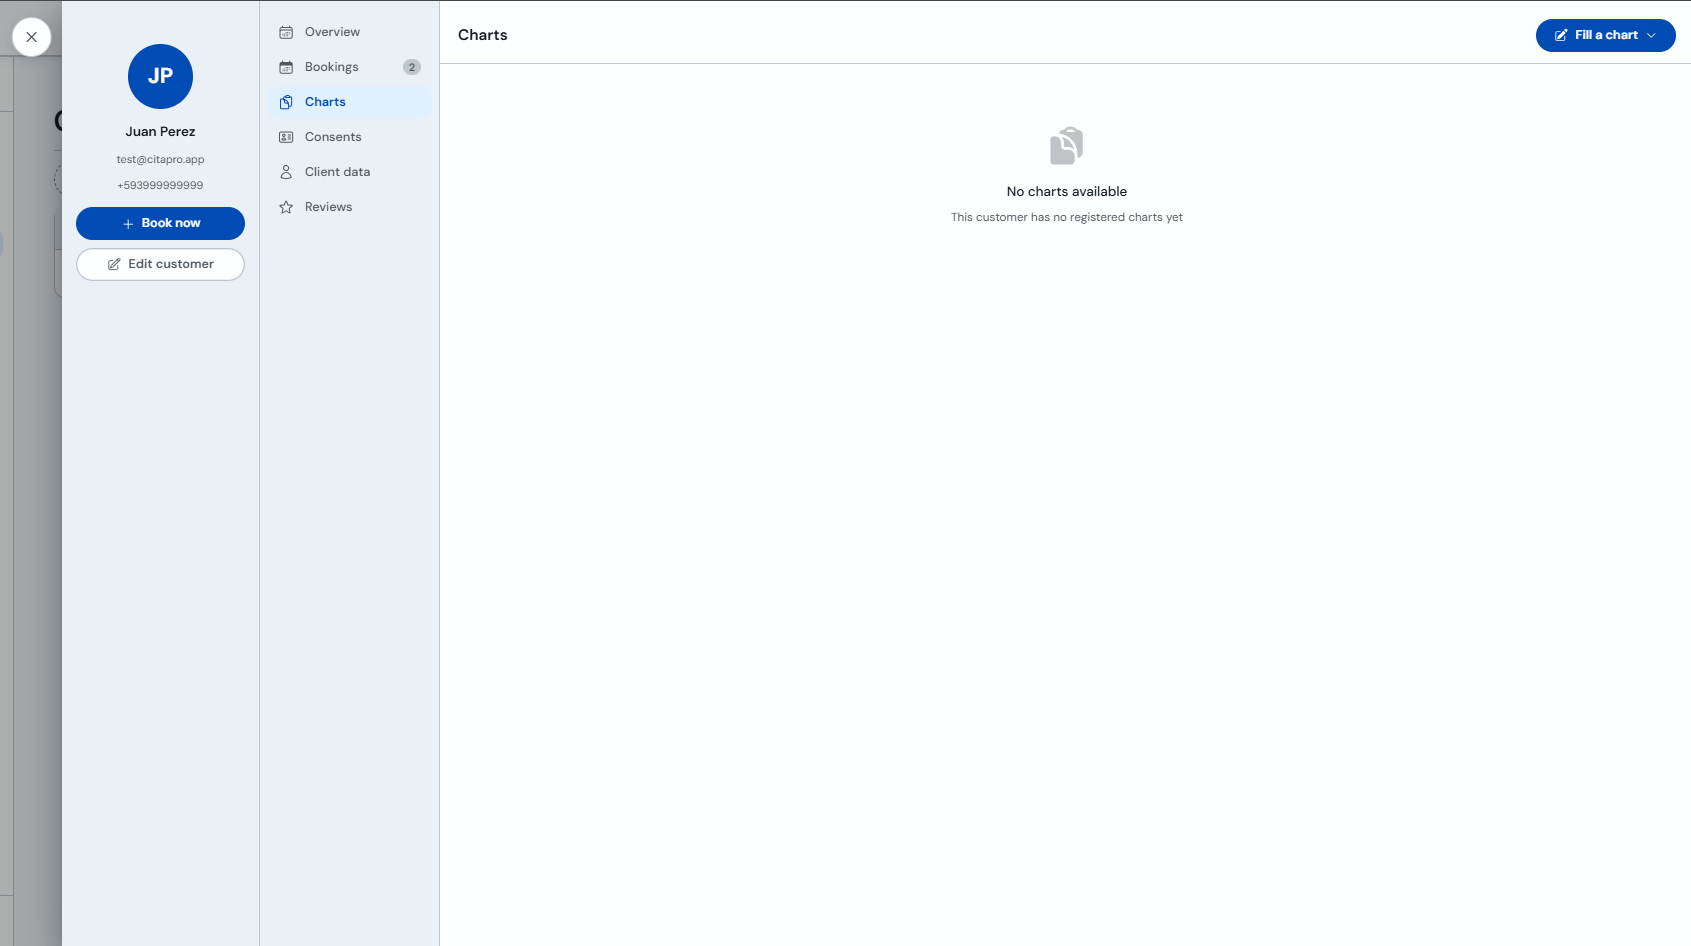
In the client profile, select the "Forms" tab and click "Fill out a form".
-
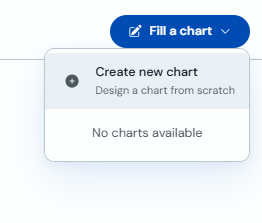
In the dropdown menu, choose "Create new form" → "Design a form from scratch".
-
Enter the form name, add sections and fields as in the admin panel, and click "Save".
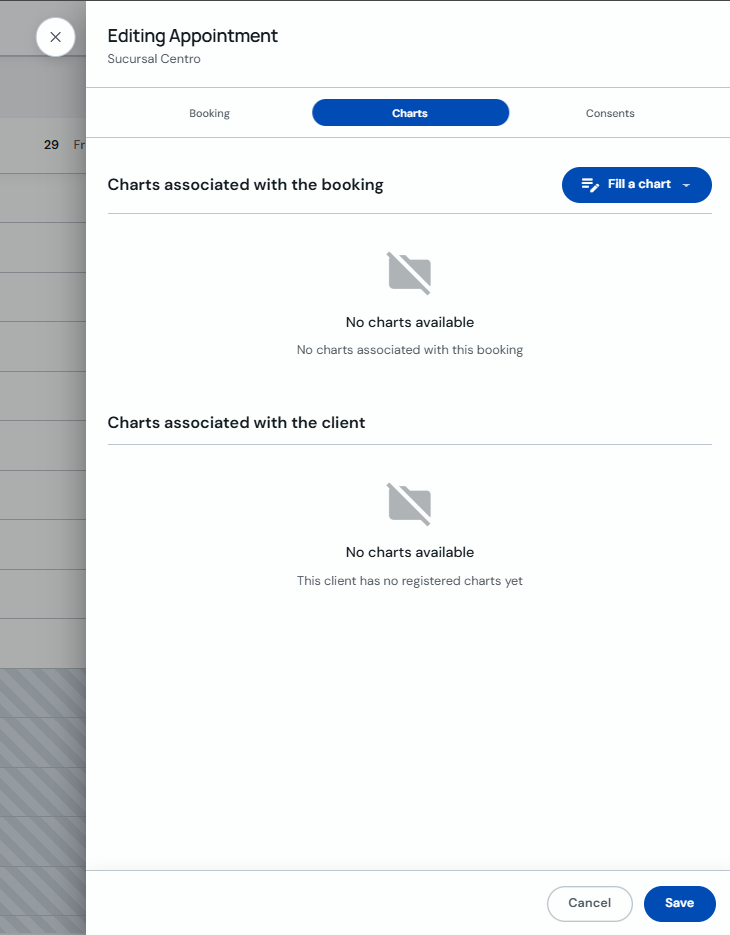
Create from the calendar
-
Go to Agenda and click an appointment. In the detail view, click "Edit".
-
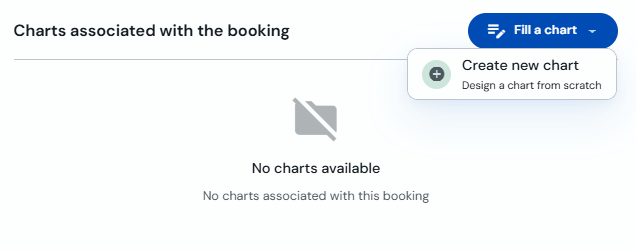
In "Editing Appointment", select the "Forms" tab and click "+ Fill out a form".
-
In the dropdown menu, choose "Create new form" → "Design a form from scratch".
-
Enter the form name, add sections and fields, and click "Save".
